When you move a WordPress or WooCommerce site behind an edge security layer, the hardest part is rarely clicking the DNS button.
The hard part is proving that real visitors are reaching the new route, from real networks, without guessing.
Desktop checks help. DNS lookup tools help. But mobile networks expose a different part of the problem. Carrier resolvers, public Wi-Fi, VPN exits, stale DNS cache, and regional routing can all make a cutover look broken when the site is actually fine.
An Android phone is useful during a FirePhage cutover because it gives you a fast way to test what a normal mobile visitor is resolving right now.
This is not about “making Android DNS faster.” That is consumer advice.
For site owners, agencies, and WooCommerce operators, the useful question is sharper:
Is this phone reaching the FirePhage edge, or is it still reaching the old origin path?
Why mobile DNS testing matters during a cutover
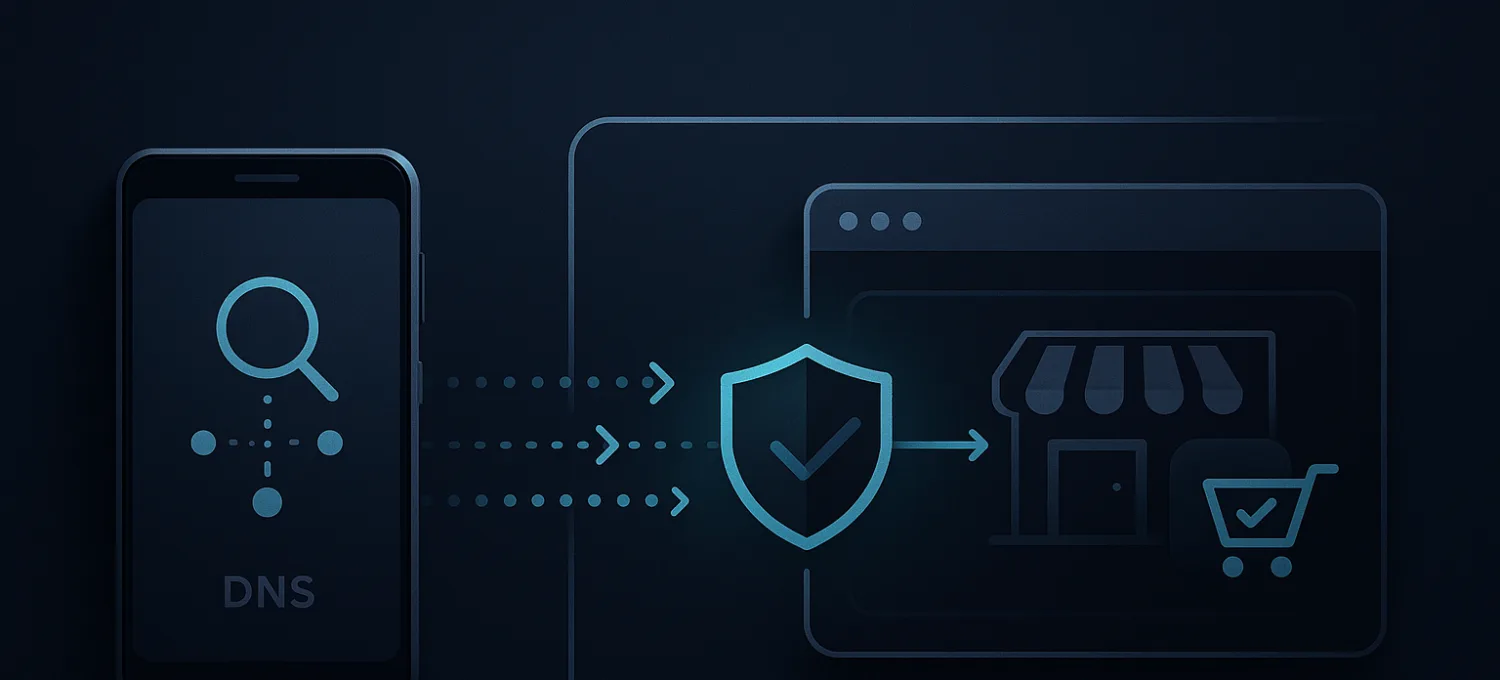
FirePhage sits in front of WordPress through DNS onboarding. The goal is simple: traffic should reach the edge first, where WAF rules, bot filtering, DDoS mitigation, CDN behavior, and monitoring can act before the origin does expensive work.
During the transition, different resolvers can see different answers.
That means one person may already reach the FirePhage edge while another still reaches the old host. This is normal during propagation, especially if the old records had a long TTL.
On mobile, the picture can be even noisier:
- Carrier DNS resolvers may cache old answers longer than expected.
- Public Wi-Fi networks may intercept or filter DNS.
- VPN providers may resolve from a completely different region.
- Android may keep resolver state until the network changes.
- Captive portals may force their own DNS path before allowing normal browsing.
If you only test from your laptop, you can miss those differences.
What you are actually trying to verify
When testing a FirePhage DNS cutover from Android, you are not trying to prove that every resolver on earth updated instantly.
You are trying to answer a few practical questions:
- Does the domain resolve to the FirePhage edge hostname or edge IP path?
- Does
wwwbehave the same way as the apex/root domain? - Does the site load through HTTPS without redirect loops?
- Do dynamic paths like login, account, cart, checkout, and admin behave correctly?
- Are cookies preserved through the edge route?
- Does the origin stay hidden from normal visitor traffic?
That last point matters. If a visitor can still bypass the edge and hit the origin directly, the site is not fully protected yet.
Before changing DNS, lower the TTL
If you can, lower the TTL before the cutover.
Do this several hours before changing the actual target records. A shorter TTL gives resolvers permission to refresh the answer sooner.
For many migrations, a temporary TTL of 300 seconds is practical. Some DNS providers express this as 5 minutes.
This does not guarantee instant global propagation. Some resolvers behave badly. Some networks cache aggressively. But lowering TTL reduces the amount of stale traffic you have to explain later.
Do not wait until the moment of cutover to lower TTL and expect it to help immediately.
Resolvers that already cached the old long-TTL answer may continue using it until that old timer expires.
Android Private DNS is useful, but easy to misuse
On Android 9 and newer, Private DNS lets you choose a DNS-over-TLS provider for the whole device.
This is useful for testing because you can compare what different resolvers see without changing the website itself.
Common provider hostnames include:
- Cloudflare:
one.one.one.one - Google Public DNS:
dns.google - Quad9:
dns.quad9.net
Android expects a hostname here, not an IP address.
If you enter 1.1.1.1 or 8.8.8.8 into the Private DNS field, Android will reject it. That setting is for DNS-over-TLS hostnames.
How to test propagation from Android
Start with the simplest path.
Turn off Wi-Fi and use mobile data. Open the site in a private browser tab. Test the homepage first, then a dynamic path.
For a WordPress or WooCommerce site, useful paths include:
//wp-login.php/wp-admin//my-account//cart//checkout/
If the homepage works but checkout or login fails, that is not a DNS-only problem. That usually points to cookies, redirects, cache bypass rules, origin behavior, or host/protocol headers.
Next, switch to a known resolver with Android Private DNS and repeat the same paths.
Then test on Wi-Fi.
The goal is not to get identical results from every network immediately. The goal is to understand whether failures follow the resolver, the network, or the application path.
How to tell if a failure is DNS or routing
DNS problems usually look like the phone reaching the wrong destination.
Common signs:
- The site loads from the old host.
- SSL certificate behavior differs between networks.
- One network sees the FirePhage edge while another still sees the old target.
wwwworks but the apex/root domain does not.- A VPN country sees a different result than your local connection.
Routing or application problems look different.
Common signs:
- The domain reaches FirePhage, but WordPress redirects in a loop.
- Login pages load, but POST requests fail.
- WooCommerce cart or checkout behaves differently from cached pages.
- Cookies are missing, trimmed, or not returned correctly.
- The origin sends a 502, 503, or 504 through the edge.
That distinction matters because the fix is different.
If DNS is stale, you wait, lower TTL earlier next time, or test another resolver.
If routing is wrong, you inspect edge settings, origin host headers, HTTPS forwarding, cache bypass rules, and WordPress URL handling.
What to check in FirePhage during mobile testing
When you test from Android, keep the FirePhage dashboard open on desktop.
You want to confirm whether the mobile request is visible at the edge.
Check:
- Request activity for the domain.
- Firewall or bot filtering events.
- Cache status on dynamic and static paths.
- Uptime/availability checks.
- Whether the site still shows routing/protection warnings.
If your Android request does not appear at the edge, it may still be resolving somewhere else.
If it does appear at the edge and still fails, you are past DNS. The next layer is routing, cache, cookies, headers, or origin response behavior.
Avoid false confidence from homepage-only testing
A cached homepage is a weak test.
It can load while the store is still broken.
For WooCommerce, always test dynamic paths:
- customer login
- cart updates
- checkout
- account dashboard
- password reset
- admin login
These paths reveal the problems that matter: cookie handling, cache bypass, origin forwarding, redirect behavior, and bot/security rules.
A cutover is not successful just because / returns 200.
It is successful when real user workflows behave correctly through the edge.
Practical Android cutover checklist
Use this flow during a FirePhage onboarding or DNS migration:
- Lower TTL before the cutover window.
- Confirm the expected FirePhage DNS target for apex and
www. - Test from desktop using a known resolver.
- Test from Android on mobile data.
- Test from Android on Wi-Fi.
- Optionally compare with Android Private DNS providers.
- Test dynamic WordPress and WooCommerce paths, not only the homepage.
- Confirm requests appear in FirePhage edge visibility.
- Purge cache only when you know the request is reaching the correct layer.
- Keep the old DNS/origin rollback path available until dynamic flows are verified.
This is slower than “change DNS and hope.”
It is also how you avoid confusing clients, losing checkout sessions, or misdiagnosing resolver cache as a FirePhage issue.
The FirePhage view
FirePhage is built around edge-first protection, but DNS still controls how traffic reaches that edge.
That means cutover testing matters.
Android testing is not the whole process. It is one useful signal in a broader workflow: staged DNS changes, edge visibility, cache controls, origin health, and real dynamic-path checks.
If you are moving a WordPress or WooCommerce site behind FirePhage, treat mobile DNS testing as a verification step, not a magic fix.
The question is simple:
Is real visitor traffic reaching the protected edge before WordPress has to do the work?
That is the point of the migration.